Yep...already behind my goal of posting one thing everyday. Well, I'm not going to let that stop me. :)
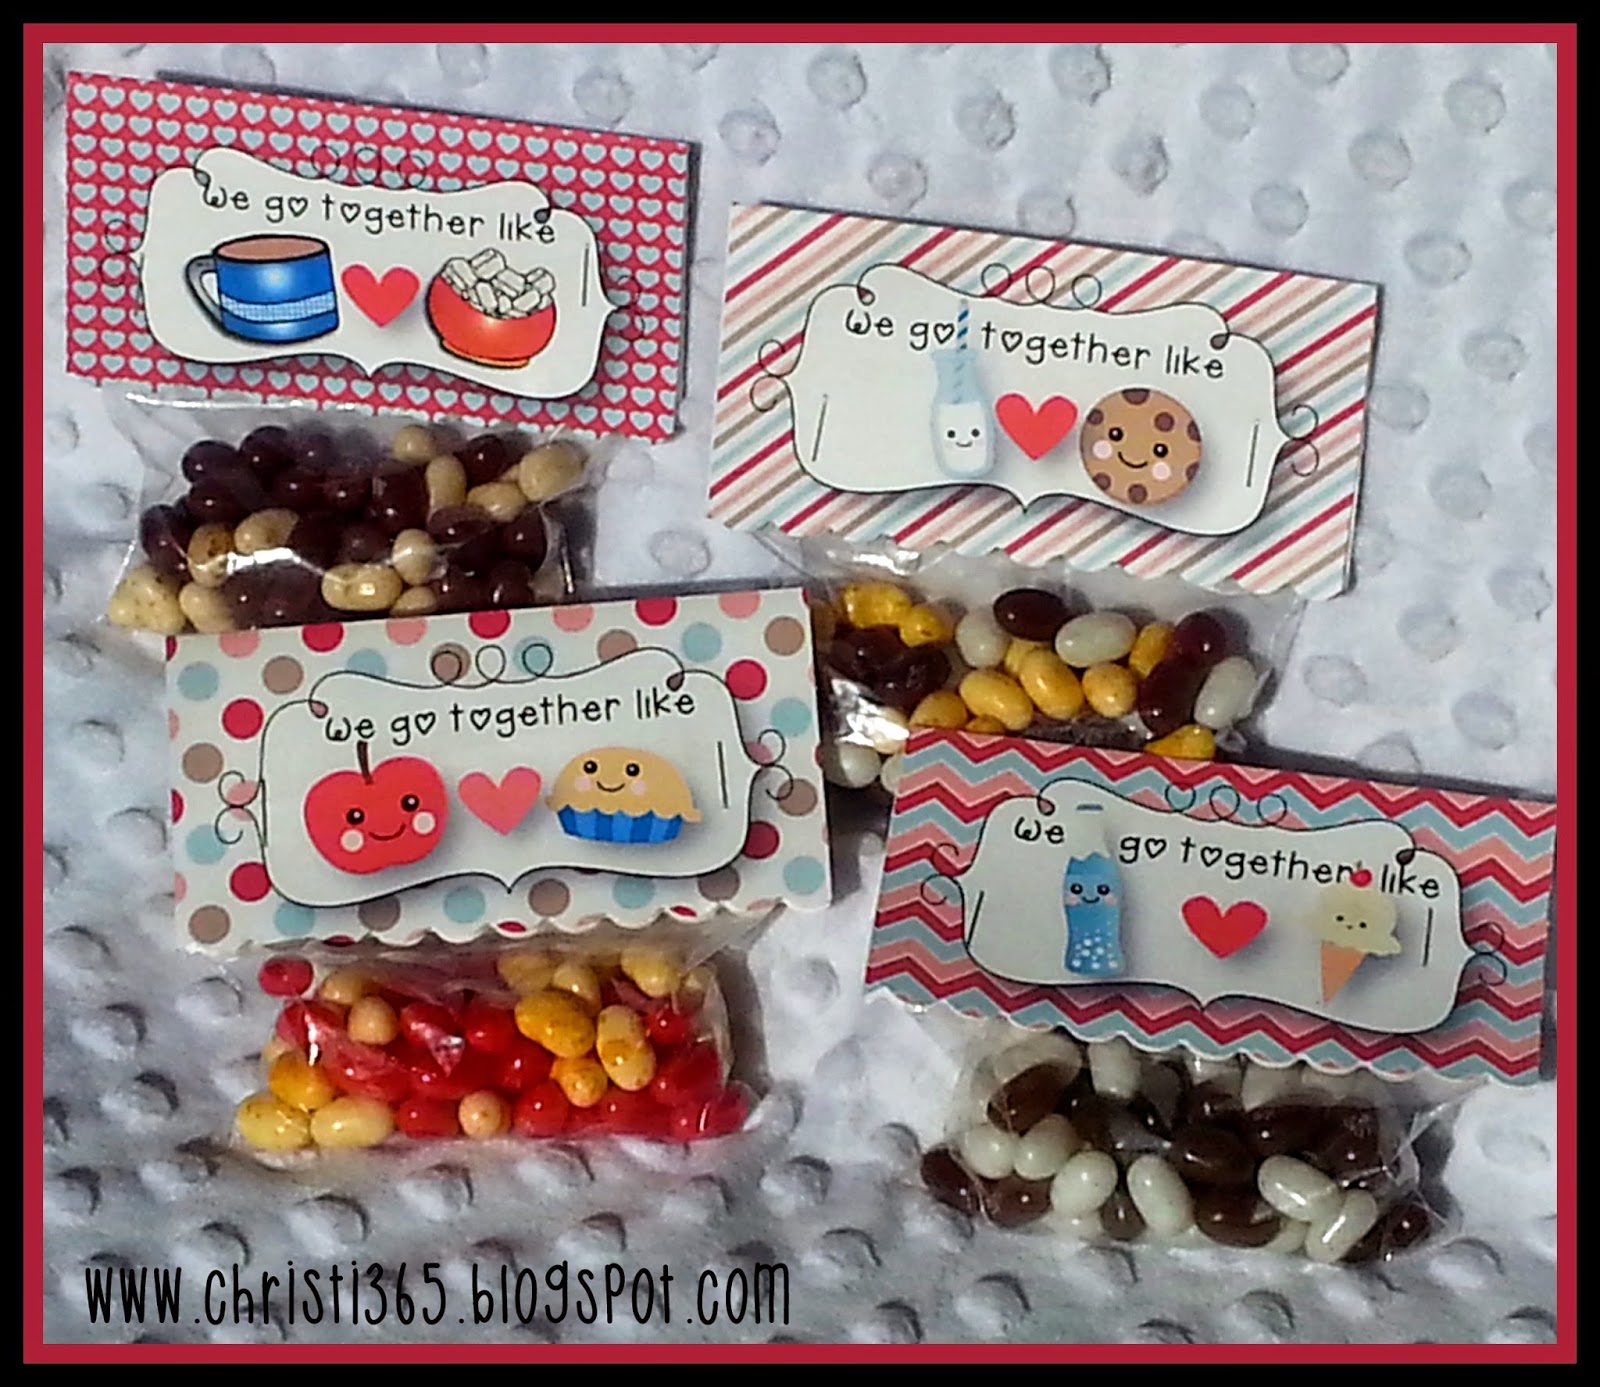
I am making some super cute Valentines for my kids this year and thought you might like them too! I have had these adorable food graphics since last year, had an idea, but it never went anywhere. So this year I was determined to create something cute and "We Go Together" valentines are the result. The combinations are:
Hot Chocolate & Marshmallows
Apple and Pie
Milk and Cookies
Root Beer and Ice Cream
As you can see, I used jelly beans for the candy. There are probably a bunch of other flavor combinations...but I just stuck with these four. Recipes below.
I formatted the tags to fit nicely with a 4" x 6" bag (found at any craft store). After printing them, I folded each tag in half and used a scallop border punch along the bottom.
These are the Jelly Belly beans used for each combination:
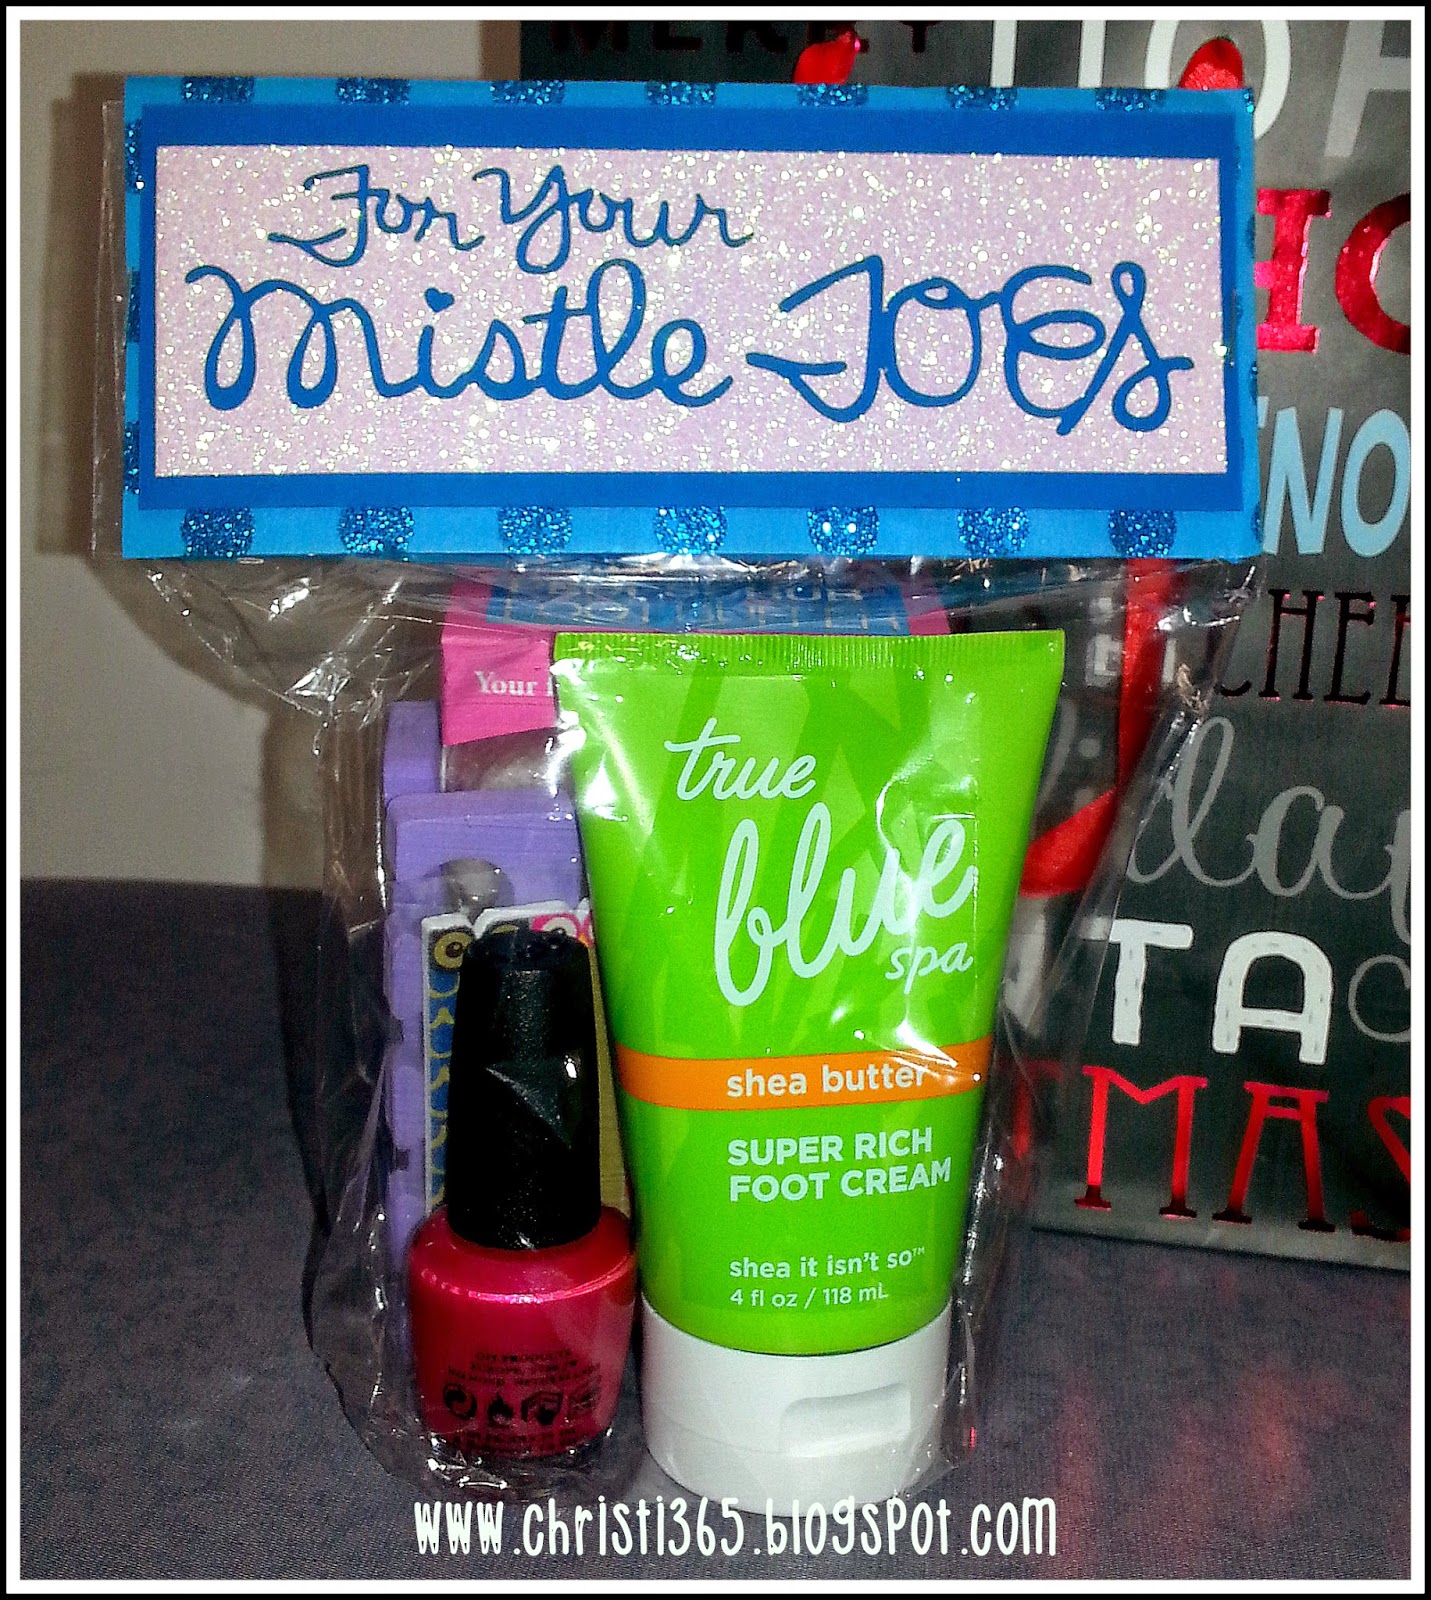
During a road trip, I was browsing pinterest and saw a super cute idea post (here) and immediately decided that was something I wanted to recreate for some Christmas gifts. I just loved the saying and loved the idea of making a mini-pedicure in a bag. Plus, it looked so easy and fun!
I used my Silhouette cutter with white glitter paper to create the tag and two other papers for the background. The dimensions of each paper is approximately:
Top layer (white glitter): 2" high x 6.25" wide (I cut the rectangle after the words had been cut)
2nd layer (solid blue): 2.5" high x 6.5" wide
Bottom layer (glitter polka dot): 6" high x 7" wide. This piece folds in half and sandwiches the bag opening.
In each bag (small clear gift basket bags, Michael's) I put:
True Blue Foot Cream (Bath & Body Works)
Opi Nail Polish (color chosen specifically for each gal)
Nail Files (I found some really cute ones at Bath & Body Works before Christmas)
This gift was fun to make, fun to give, and would be super fun to receive! I'm planning on using this idea again, but with different sayings. Here are a few ideas:
Mother's Day:
"Hands down, You're the best!"
"Thanks for always holding my hand!"
Teacher Appreciation: "Thank you for helping to 'polish' our student's skills!"
Birthday/Just Because: "Never let anyone dull your sparkle!" (include glitter polish too)
I think it is really important to say 'Thank You" when given a gift..but this is especially true during the holidays. My kids don't always get to see everyone, so sending a thank you note is a nice way to let that person know how much they liked the gift.
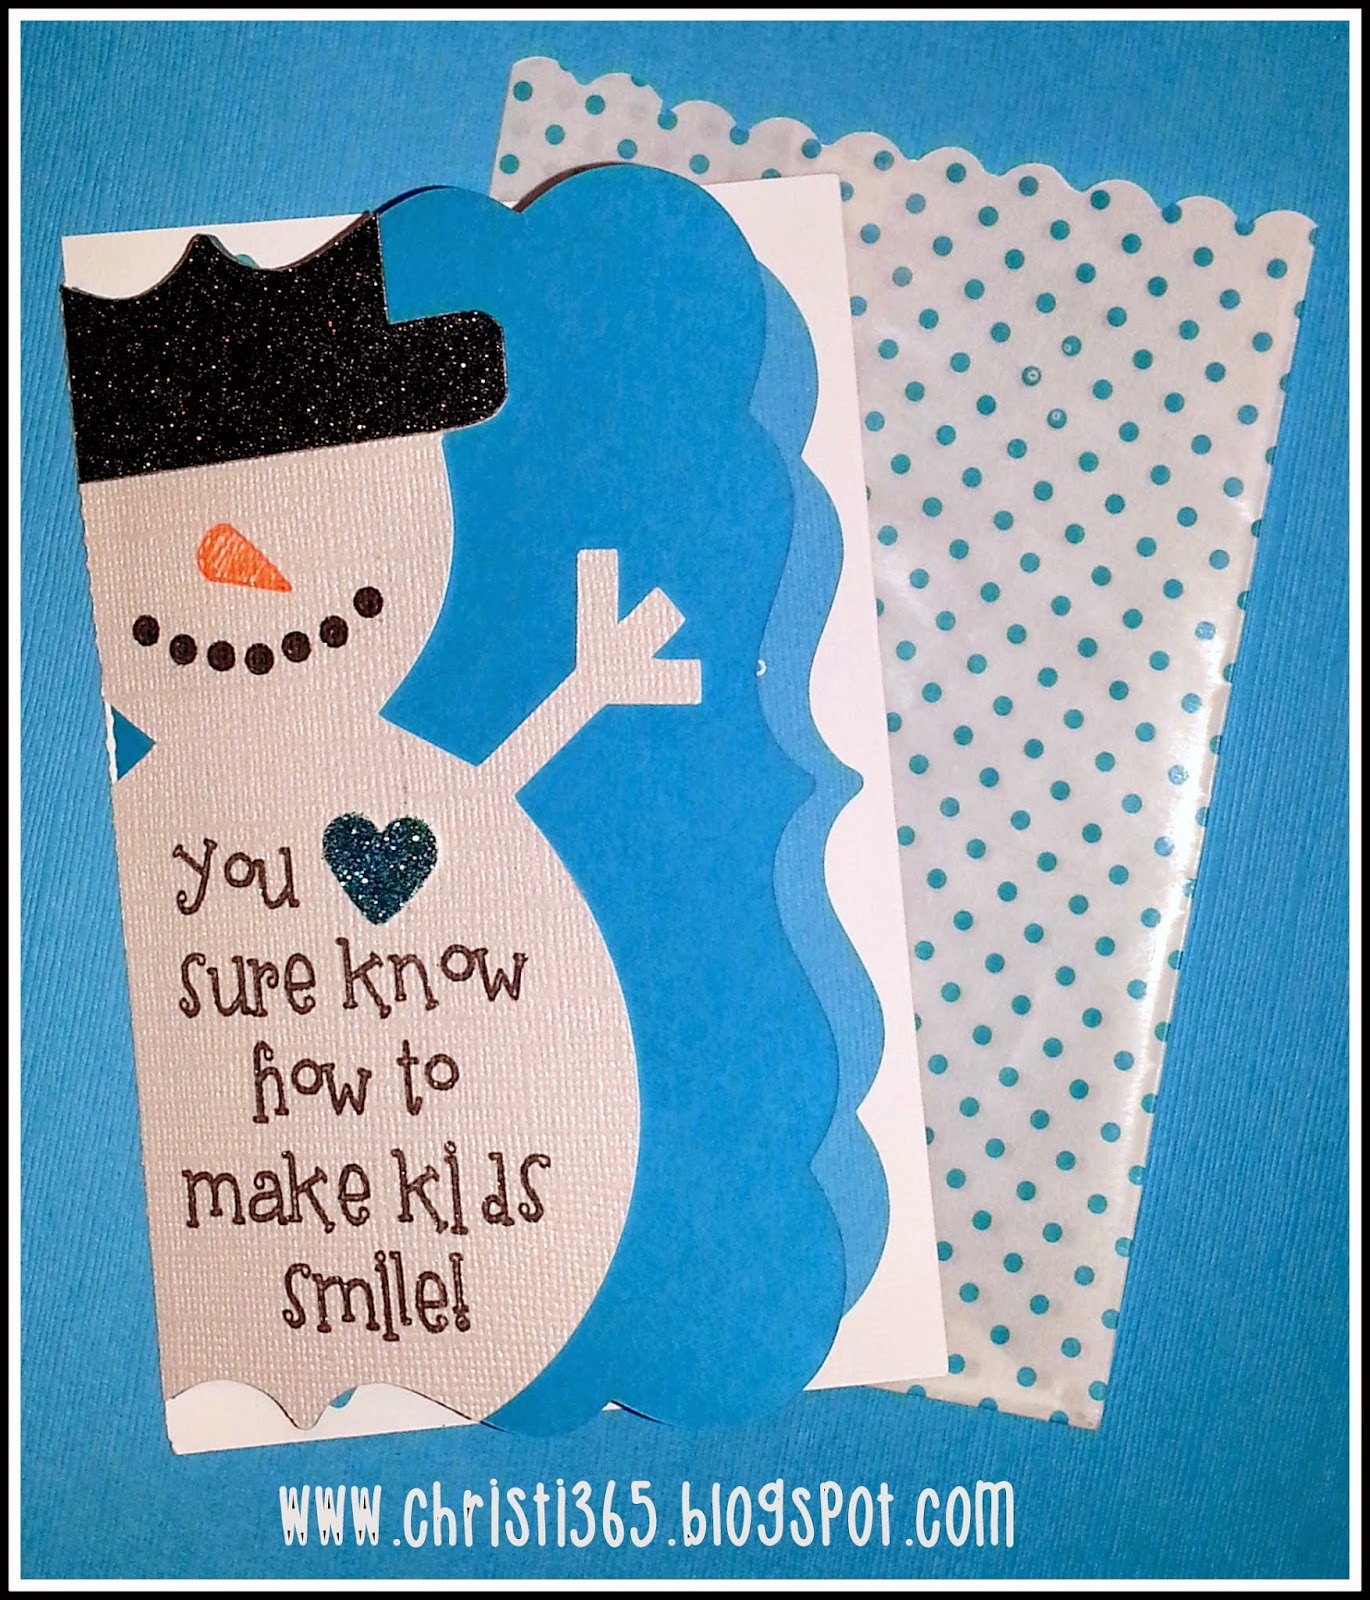
Today I made thank you cards for my kids to send for the gifts they received last week. I used my Silhouette cutter and software to design a fun card with a cute saying that I had seen previously on a Hallmark card. You can see the final product below.
I had SO MUCH FUN designing and choosing papers for this card! I also found some small bags from Michael's to put the cards in before sending them in envelopes.
I can't wait for people to start receiving them! We'll be finishing and signing them tomorrow before shipping them off!
Here's a link to version for you- if you'd like to make a similar style card. It's a blackline version of the card to print on cardstock, cut, fold, and embellish! These cards fit nicely in 4 3/4 x 6 1/2 envelopes (called Photo envelopes at Staples).
Here are also two other Thank You cards that I've created and used in the past. All graphics are DJ Inkers.
I typed personal Thank Yous to my students when I was teaching. Below is an editable template (MSWord) for you to use, if you wish. There are 2 cards per page. All you have to do is type the message, print, and send/give! They fit perfectly in greeting card envelopes size 5 3/4 x 8 3/4.
I created this card when my son was 4- he was IN LOVE (and still is) with dinosaurs. I combined several DJInkers clip art images in Adobe Photoshop to create a fun way for him to say Thank You to the multiple gifts (many dinosaurs) he was given that year. Again, I typed personal Thank Yous and had him sign them.
Below is an editable template (MSWord) for you to use, if you wish. There are 2 cards per page. All you have to do is type the message, print, and send/give! Again, they fit nicely in greeting card envelopes size 5 3/4 x 8 3/4.
One of my goals this year is to share some of the items I've created. Here's a quote that I will be posting in my office when I return to school. It's a great reminder on those days when you're just not sure of the path you should take.
You can download the pdf (with smaller watermark)here.
It's been a long, long time since I last wrote anything. Partially because we moved from Iowa to California in the summer of 2013 and partially because I know there are TONS of blogs out there. I don't want to get lost in the vast sea of blogs available today, and I sometimes wonder what on earth I have to offer that isn't already out there, so I have been hesitant to keep up with this.
Well, today I will make a stronger attempt to post some of my creative ideas/projects. I don't have a 'focus' medium, but I like to do it all: scrapbooking (really any paper crafting), sewing, painting, refurbishing items, and of course, digital work. I'm probably missing something, but if I have an idea about a project, I'll figure it out! Anything that boosts my creativity is open for me to try.
So here's what I was busy crafting today- New Years photo props for my 2 kids. We'll be celebrating at home tomorrow night, but that doesn't mean we're not going to have fun.
I was inspired by props posted in a post on www.classyclutter.net. (The direct link wasn't working at the time of this post). They are cute and fun and perfect for a 7 year old and 2 year old. I used my Silhouette Cameo cutting machine (the best thing ever!!!) to cut glasses, a hat, crown, and the lips. All of the shapes are in the Silhouette online store. However, I did transform the glasses to include 2015 in the lenses and added the year on the hat and crown.
For my Mr. For the little Miss
I still have to add the lollipop sticks to the glasses, mustache, and mouth. I'll probably use elastic for the crown since my very strong-willed daughter will insist on wearing it all night. The hat will probably get a lollipop stick too.
Materials used:
Silhouette cutting machine
2 12x12 pieces gold glitter cardstock
2 12x12 pieces black glitter cardstock
Lollipop sticks for handles
If you have a Silhouette cutter, here is a great video showing how to weld 2 objects together. I used this feature to weld the numbers in my glasses so that they wouldn't be cut out in separate shapes- but rather 1 continuous shape.
I can't wait to see our kids with the props! (Maybe I'll get a few pictures of us too...)
Happy New Year!
Here is my ABSOLUTE favorite science unit to teach: Life Cycle of a Butterfly. This is truly amazing to teach in a classroom- most of my students knew that a caterpillar changed into a butterfly, but they never saw how it did...until this science unit. Little caterpillars arrive and the magic begins! My students always loved watching them grow and fatten up, go into J-shape, molt into chrysalis, and finally come out as a butterfly! Here is my SMARTBoard file for the entire unit!
My son's daycare (my son in blue shirt) had caterpillars too a couple of years ago...his excitement (x24) is the excitement I always saw in my classroom!
I LOVE teaching science. I love hearing the questions of curiosity from my students and seeing them test their thinking with different science studies. Today I was going through some files and ran across 2 science units that I really enjoyed teaching- Balls & Ramps and Pebbles, Sand, and Silt. Balls and Ramps is all about testing how different characteristics of balls affect the way they move. Pebbles, Sand, and Silt is all about discovery the properties of different earth materials. Both units are very hands on and interesting to teach!
I taught this unit before my school had SMARTBoards, so right now I only have the journals.